Starting new amp build; Matchless-inspired

  • Thread starter Thread starter SpiderWars
  • Start date Start date
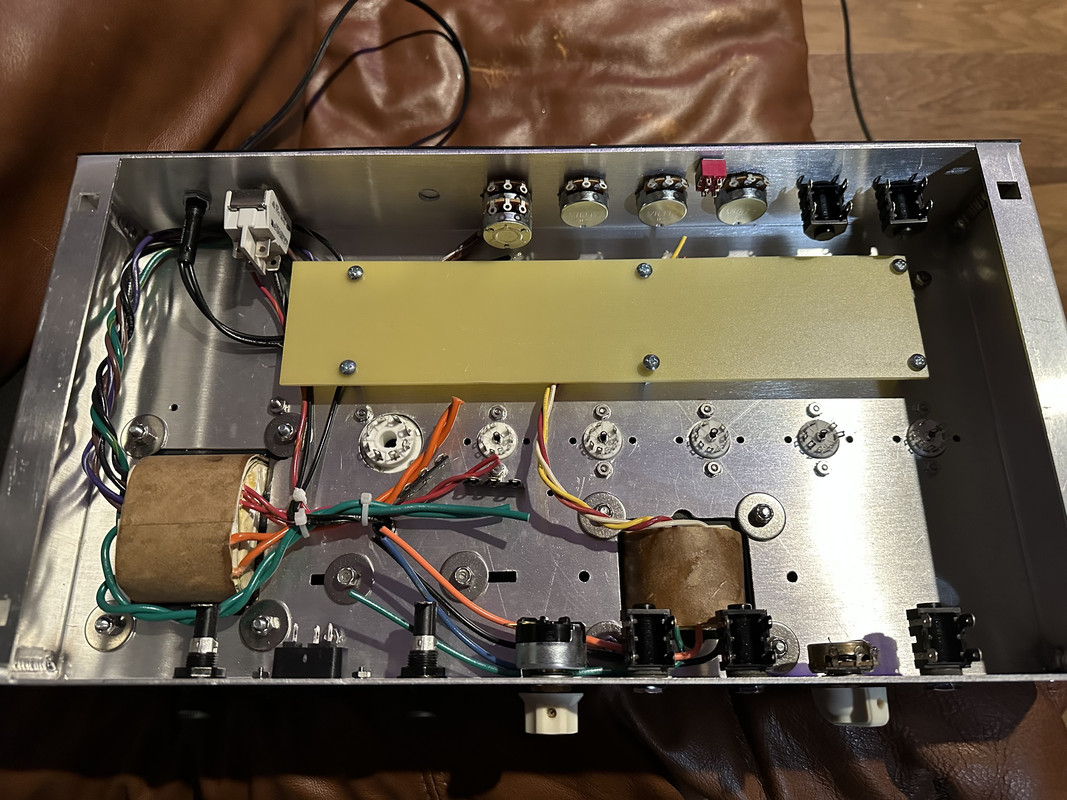
Not much progress. Ace Hardware never seems to have everything I need in stock. Labor Day weekend should be when I get a lot done.

I tried to make the impedance selector easier to use if you’re looking over the top of the amp.
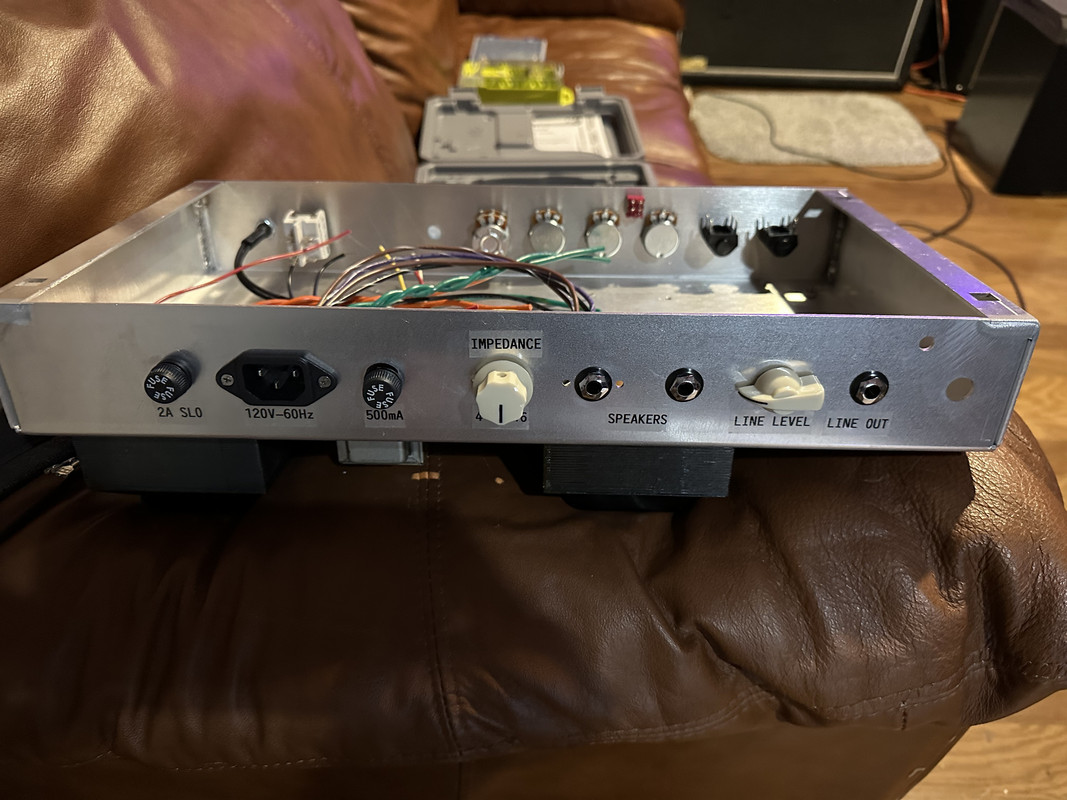
IMG-1229.jpg


There is a chassis hole for a Cut control if I find I need both the Master and Cut. Those two controls kind of need to be adjacent.
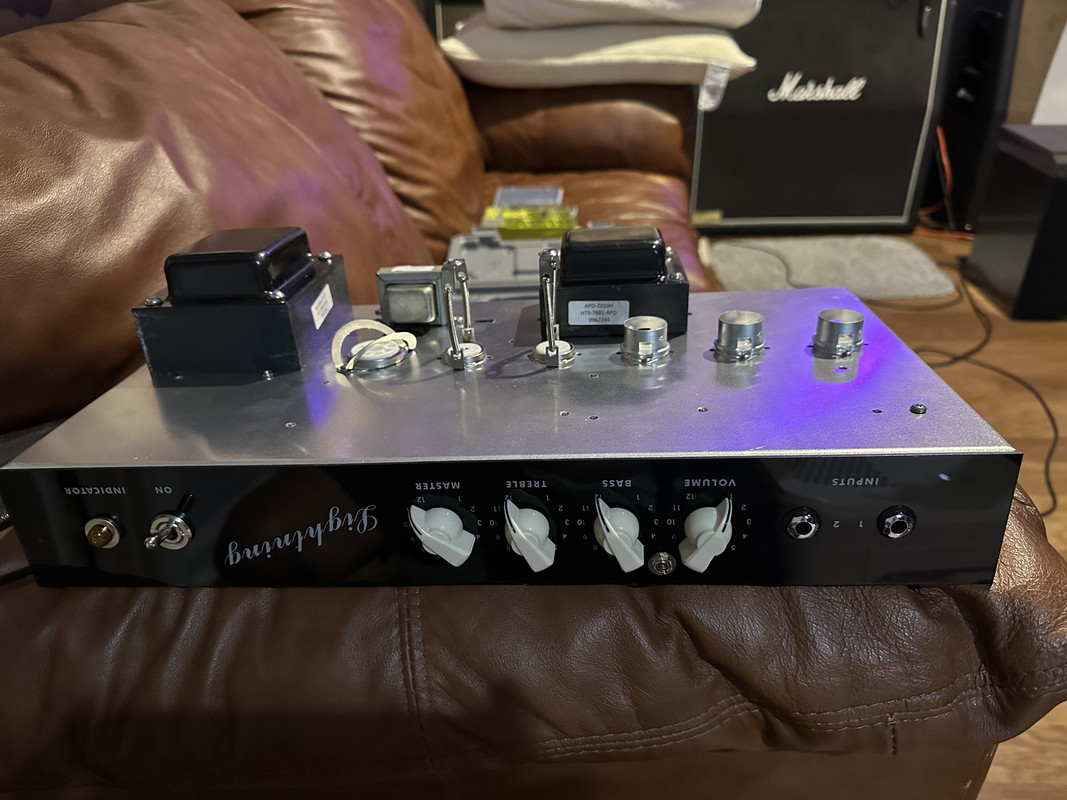
IMG-1230.jpg
 
Not much progress. Ace Hardware never seems to have everything I need in stock. Labor Day weekend should be when I get a lot done.

I tried to make the impedance selector easier to use if you’re looking over the top of the amp.
IMG-1229.jpg


There is a chassis hole for a Cut control if I find I need both the Master and Cut. Those two controls kind of need to be adjacent.
IMG-1230.jpg
looking good !
 
Good luck! Forgot to mention, if you don't have a convenient means of cutting FR4, these sorts of knives plus a straight-edge work pretty well: https://www.homedepot.com/p/QEP-Bac...fe-with-Tungsten-Carbide-Tips-10058/311091796
I didn’t see this until today. I just yesterday cut the board. I just mark it and use a Dremel cutting wheel then sand it level.

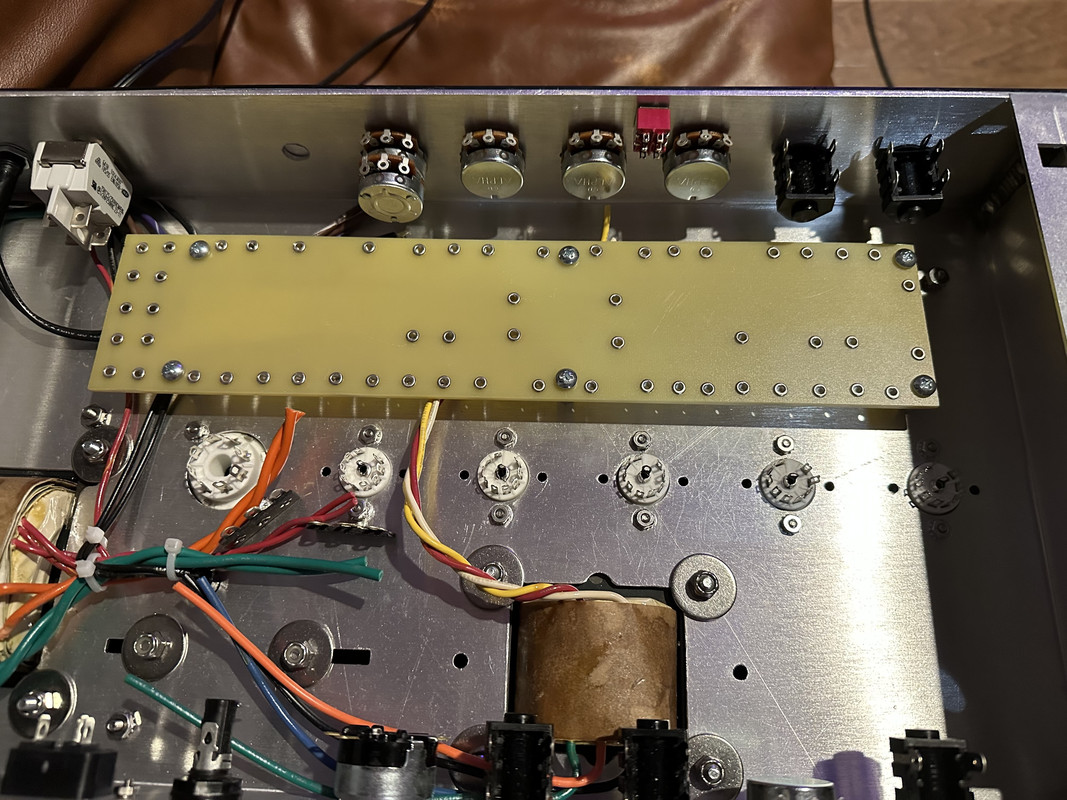
Here’s where I’m at now. Just trying to suss out how these bundles of wires should be routed. I flipped the PT. The PT has dual primaries so I’m going to put 10 eyelets (in two columns of 5 as pictured) at that end of the board so all 5 wires (120-0 + 120-100-0) plus the pilot wires plus the switch and neutral connections. Everybody gets an eyelet for easy service or swap to Euro or Japan power.

Orange to socket, red to turrets on octal socket for protection diodes to pins 4 and 6. Green to turrets on 9-pin socket for heaters because those 9-pin sockets have such small eyelets.

IMG-1260.jpg
 
Last edited:
I didn’t see this until today. I just yesterday cut the board. I just mark it and use a Dremel cutting wheel then sand it level.
How wide of a cut did the dremel make? I was considering doing the same, but I want to have as little waste as possible and think I might lose too much material to the cutting wheel's kerf.
 
It’s not thin but it’s not a lot of material either. I cut behind the line I marked and sand it down to the line. The cut is thicker than the line that’s for sure. But if you’re trying to squeeze a certain number of boards out of a certain width of stock I can see where it might be an issue. With my little one-offs it’s a non issue.
 
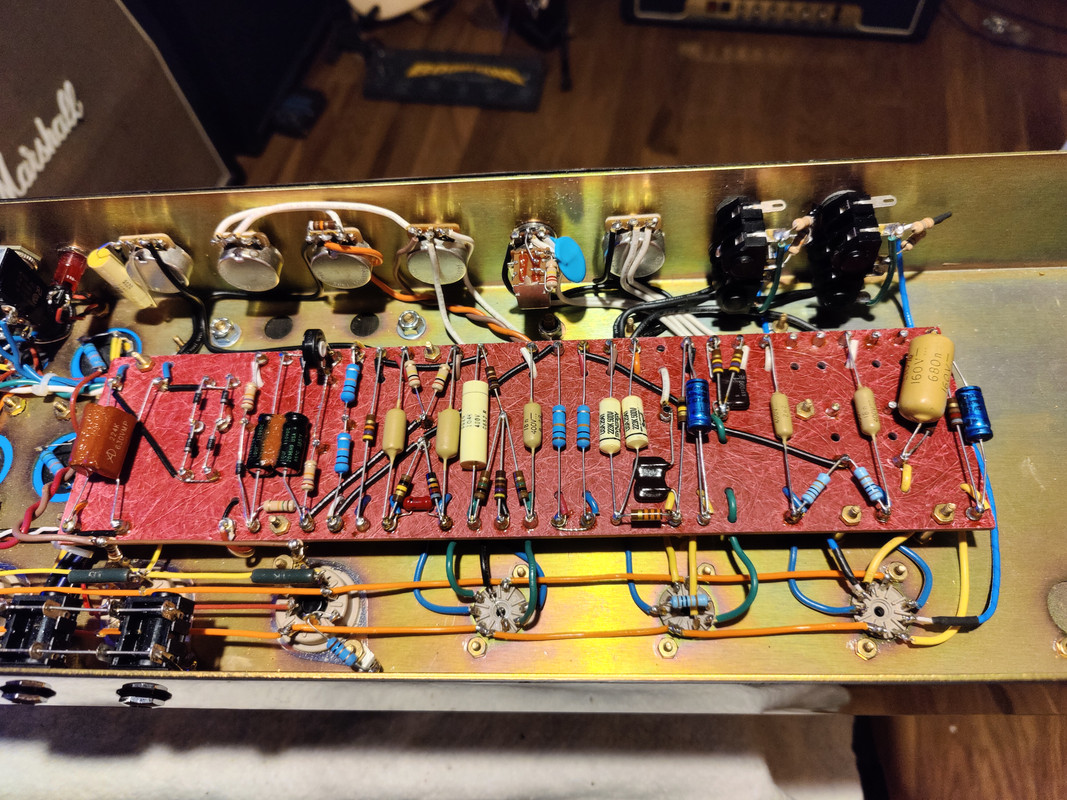
A little progress. Connecting from underneath to try and make it look pretty. The recent Diaz amp I saw was just like that. There are four wires that connect in the center of the board so I’m going to bring them up top for the connection, just in case. I have them marked with a Sharpie and will drill them and run the wire underneath before installing.

I was thinking those leads from the filter caps might make a good brace for a ground buss. :unsure:

IMG-1263.jpg
 
There are four wires that connect in the center of the board so I’m going to bring them up top for the connection, just in case. I have them marked with a Sharpie and will drill them and run the wire underneath before installing.
Do you mean like I've seen on some Suhrs? Wire goes under the board, then pops up through a hole and comes into the solder joint from the top?
 
Do you mean like I've seen on some Suhrs? Wire goes under the board, then pops up through a hole and comes into the solder joint from the top?
I’ve never been inside a Suhr but yes. I crimped a little hook on the eyelet for all the other wires connected underneath, you can see them in the pic. They shouldn’t fall out if unsoldered but if they do no problem they are at the edge. But those four in the middle would be a pita if they fell thru while you were servicing the amp. So I put them up top.
 
Last edited:
My ‘69 Superlead (Valvestorm) build has the holes inside the turrets but same idea. That Suhr looks sweet.

IMG20220424102415.jpg
 
Super cool @SpiderWars

Matchless are really underrated on this forum

The Clubman, Phoenix and Independence are three of my favorite amp circuits of all time
 
My ‘69 Superlead (Valvestorm) build has the holes inside the turrets but same idea. That Suhr looks sweet.

IMG20220424102415.jpg
Pretty. Does this wire duck through the board twice here?
1693871652307.png
 
Last edited:
.Pretty. Does this wire duck through the board twice here?
View attachment 244121
Thanks. Yes, can’t remember why except that is a notoriously ‘hot’ area in Superleads and that particular grid wire always seems sensitive. That amp was kind of unstable and noisy when I built it but it’s super well behaved now. And that fat cap on V2 is now on a pull pot for the Normal volume. It’s my favorite amp.
 
Thanks. Yes, can’t remember why except that is a notoriously ‘hot’ area in Superleads and that particular grid wire always seems sensitive.
Huh, didn't know about that.
That amp was kind of unstable and noisy when I built it but it’s super well behaved now. And that fat cap on V2 is now on a pull pot for the Normal volume. It’s my favorite amp.
Did you do a thread following the build process like you are for this current amp? I'd be interested in reading about it.
 
Huh, didn't know about that.

Did you do a thread following the build process like you are for this current amp? I'd be interested in reading about it.
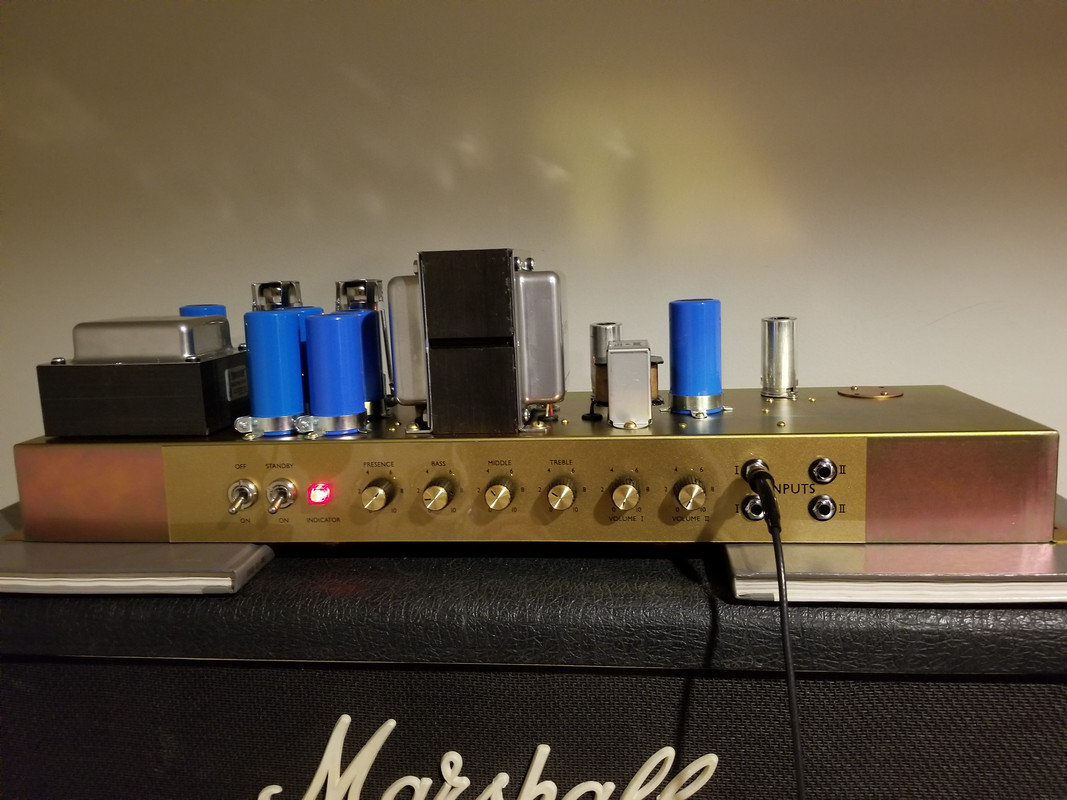
I think I did. It was 2021 I’m pretty sure. I built a ‘68 Superbass about a year or so before that and probably did a thread on that too. The ‘68 didn’t sound as good as the ‘69 so I modded to a JEL then into a Jose.

I’m not saying it’s the OT difference but the SB has a Merren OT and originally had a Merren PT. The SL has always had Mercury iron and the OT is a fatter stack than their stock offering. Fat enough to have to rotate it 90* to fit.

20210510_172918.jpg
 
Back
Top